Van upgrades in San Diego
We’d managed to secure our longest pet sit to date and our first since setting out on our road trip. We were very keen to have some time in a house and had plans to make some upgrades to Big Buddy (our van) while we were there. Arriving the day before the dog was way bigger than he’d looked in pictures and incredibly bouncy! As I was walking upstairs he jumped up to lick my face - luckily I’d seen him coming and grabbed the stair rail. The place was lovely though and we noticed they had Apple TV - perfect for catching up on the new season of Ted Lasso.
We quickly got going with our van upgrades. First up was a general sort through of what we had with the aim of sending a box back to Amy’s grandma as we’d definitely overpacked in some areas - mostly clothes. Realistically a t-shirt lasts 3 days easily on the road so having 14 of them (like I did) was overkill to the extreme. We had an extra backpacking bag so we filled that to the brim and posted it back to New York.
We also began planning out our builds. We’ve brough a battery powered jigsaw and drill on the road with us and those two tools are enough for us to do pretty much everything we want. Sure we miss the woodshop in Binghamton and would have killed for a mitre or table saw and some clamps at a few points but we made it work!

Planning out the cabinet improvements
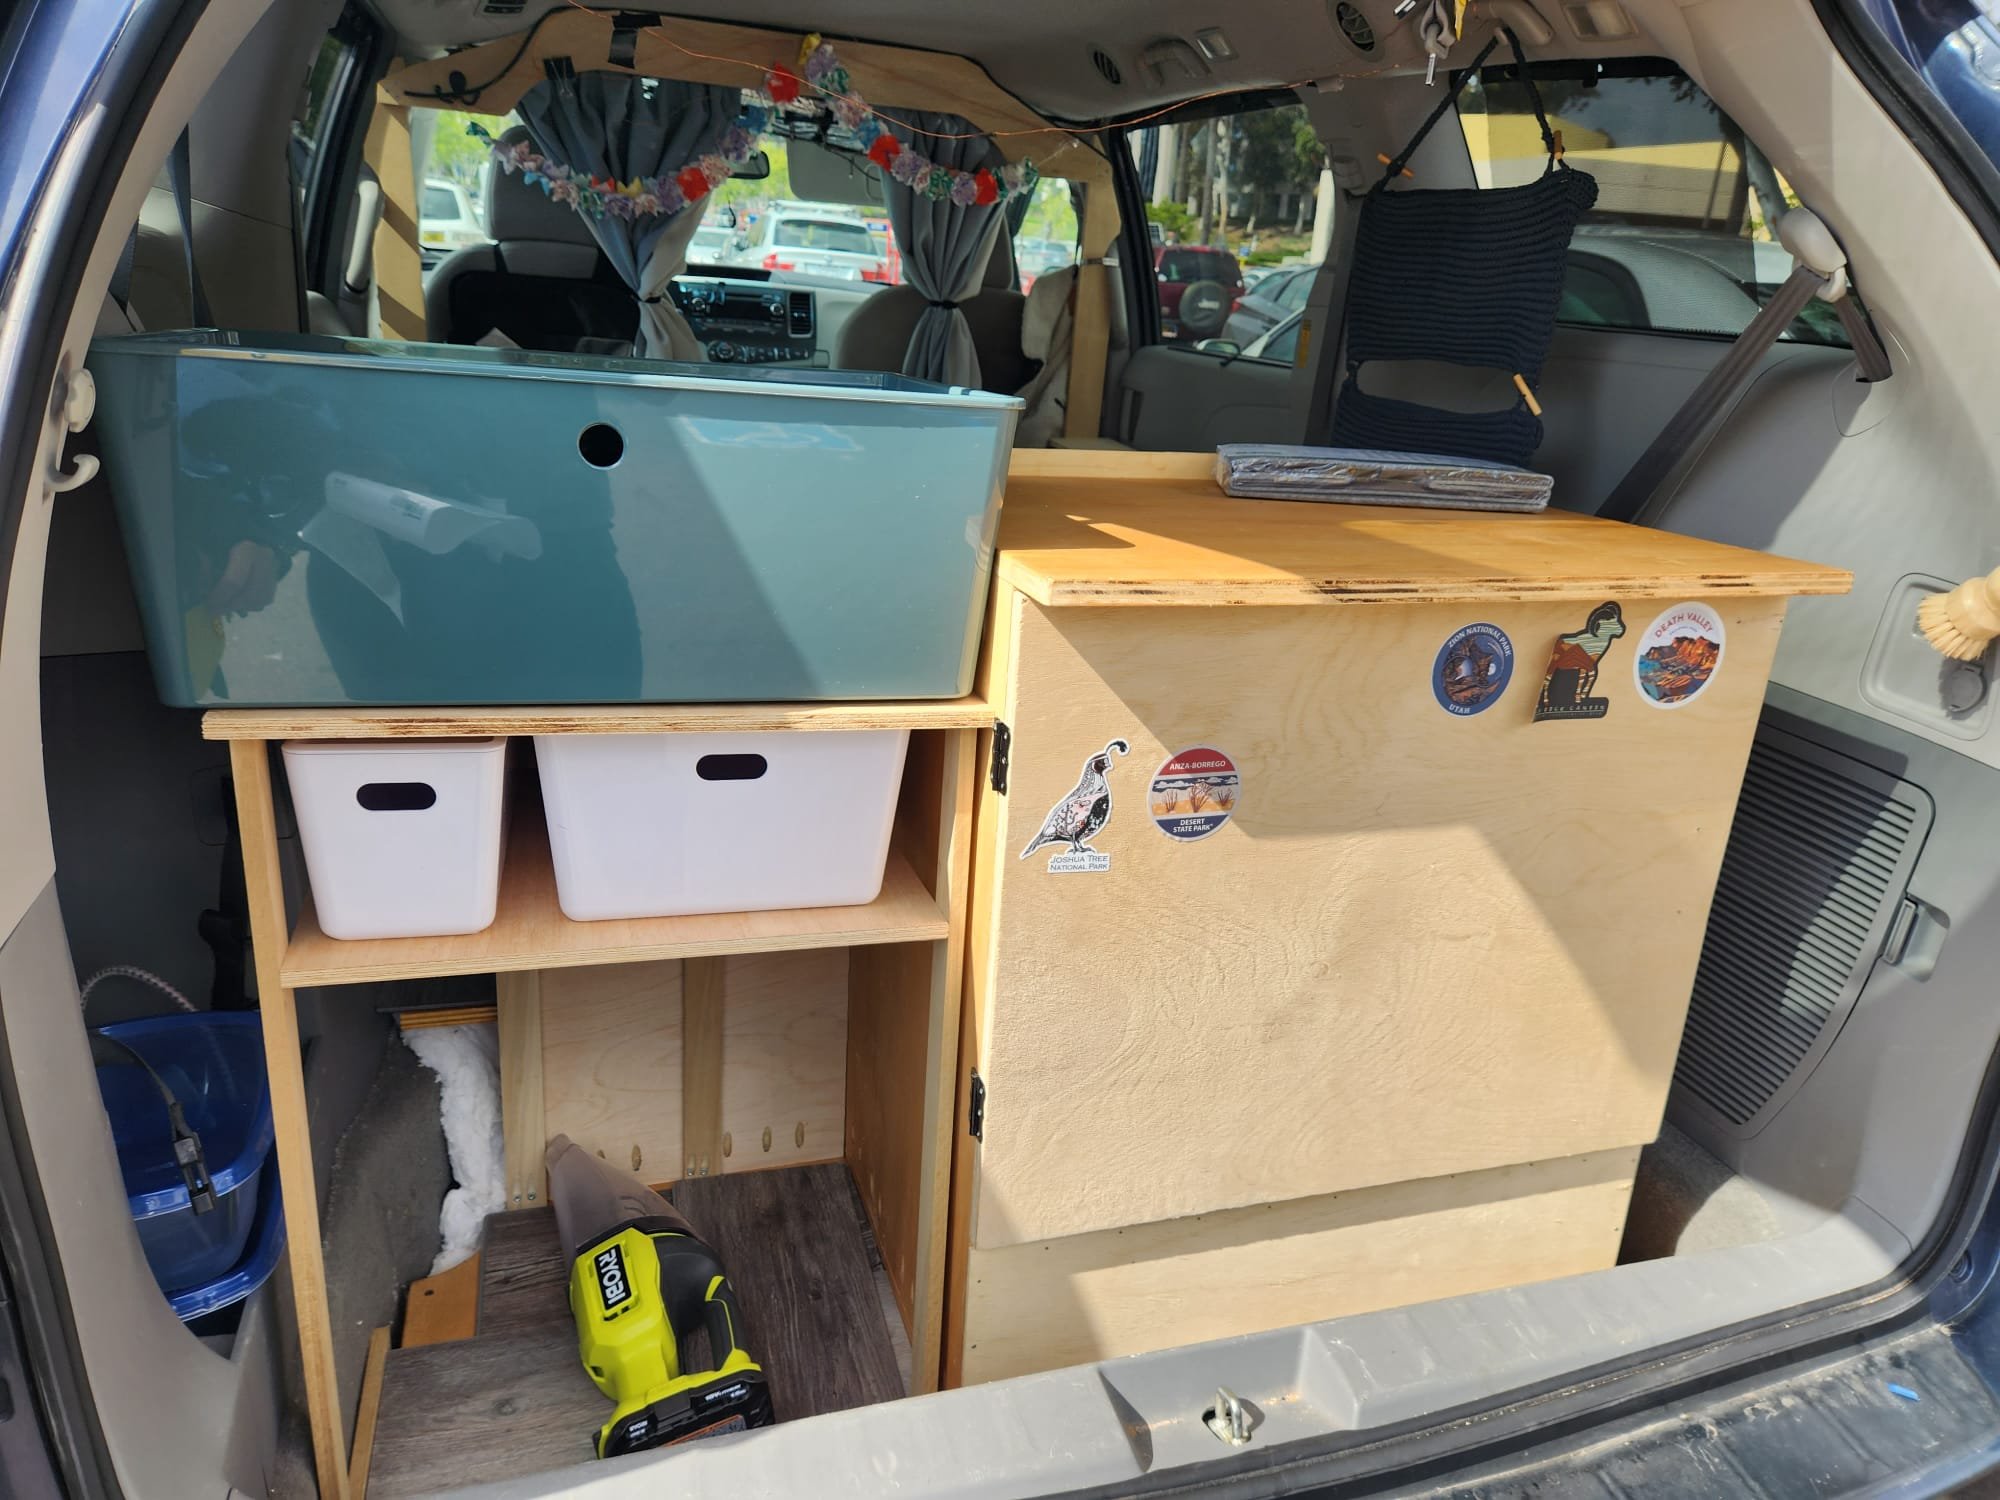
Amy had improvements in mind for our kitchen cabinet. This cabinet was originally a bolted cupboard with two quite tall shelves inside. The new plan was to:
Remove the bolt and add magnetic closures to give more space outside the cabinet and make it easier to shut
Add a slide out shelf so we can use the stove in situ with a slide out drawer below that to house our frying pan and plates/cutlery
Add a half shelf to make it easier to get our propane tank out. The old set-up made it quite difficult to get the tank out without damaging the front of the cabinet

It’s weird how much more space we now have out of the same cabinet - much more functional
All these improvements have given us a tonne more usable space which we have filled with storage boxes that fit the space to make it even easier to access what we need. I’m most psyched to have a “breakfast drinks box” which houses all our tea and coffee equipment. One of my biggest frustrations of van life has been not being able to find the things we need for a nice morning cuppa easily.

Picking out the flattest boards in Home Depot for our wardrobe legs. I remember how overwhelming our first Home Depot trip was!
We also built a wardrobe to go next to the kitchen cabinet. This had been the plan from the beginning but we ran out of time in New York and that space had been used for our backpacking bags plus a lot of random stuff we didn’t use all that often (like tools) whereas our clothes were stored under the sofa and pretty out of reach when we had the bed out. In this new layout we each have half a big box accessible from inside the car and a couple of extra small boxes just below. Below those two shelves we can still fit our backpacking bags and camping gear so it’s always ready to go when we get the chance to head out into the wild!
Plenty of space for clothes with room for our camping gear underneath
I also completed two smaller upgrades - firstly a net above our front seats to store our front window covers. They’re pretty big and with nowhere to keep them they generally ended up on the bed - it’s made the van look much tidier for them to have their own place. The second upgrade is a shelf to raise our battery up off the floor to bed level and make it much easier to access from inside the car. With it on the floor we’ve usually had to open the side door to use it and it’s a bit of a hassle to plug anything in without leaving the car.

Much neater! Since this picture I’ve also added cords to stop the covers slipping out of the net
The big boss of our upgrades was installing the vinyl flooring we’d been carrying with us since New York! This ended up being probably the most difficult part of the van build (perhaps excluding figuring out how to support and level the floor). There were a lot of cuts to make and for some reason it was a real struggle to get the click-lock pieces to fit together. They make it sound so easy on the instructions! It didn’t help that by the time we got to this we were on a bit of a time crunch - and that the pup we were pet sitting woke us up at six every morning so we were knackered.
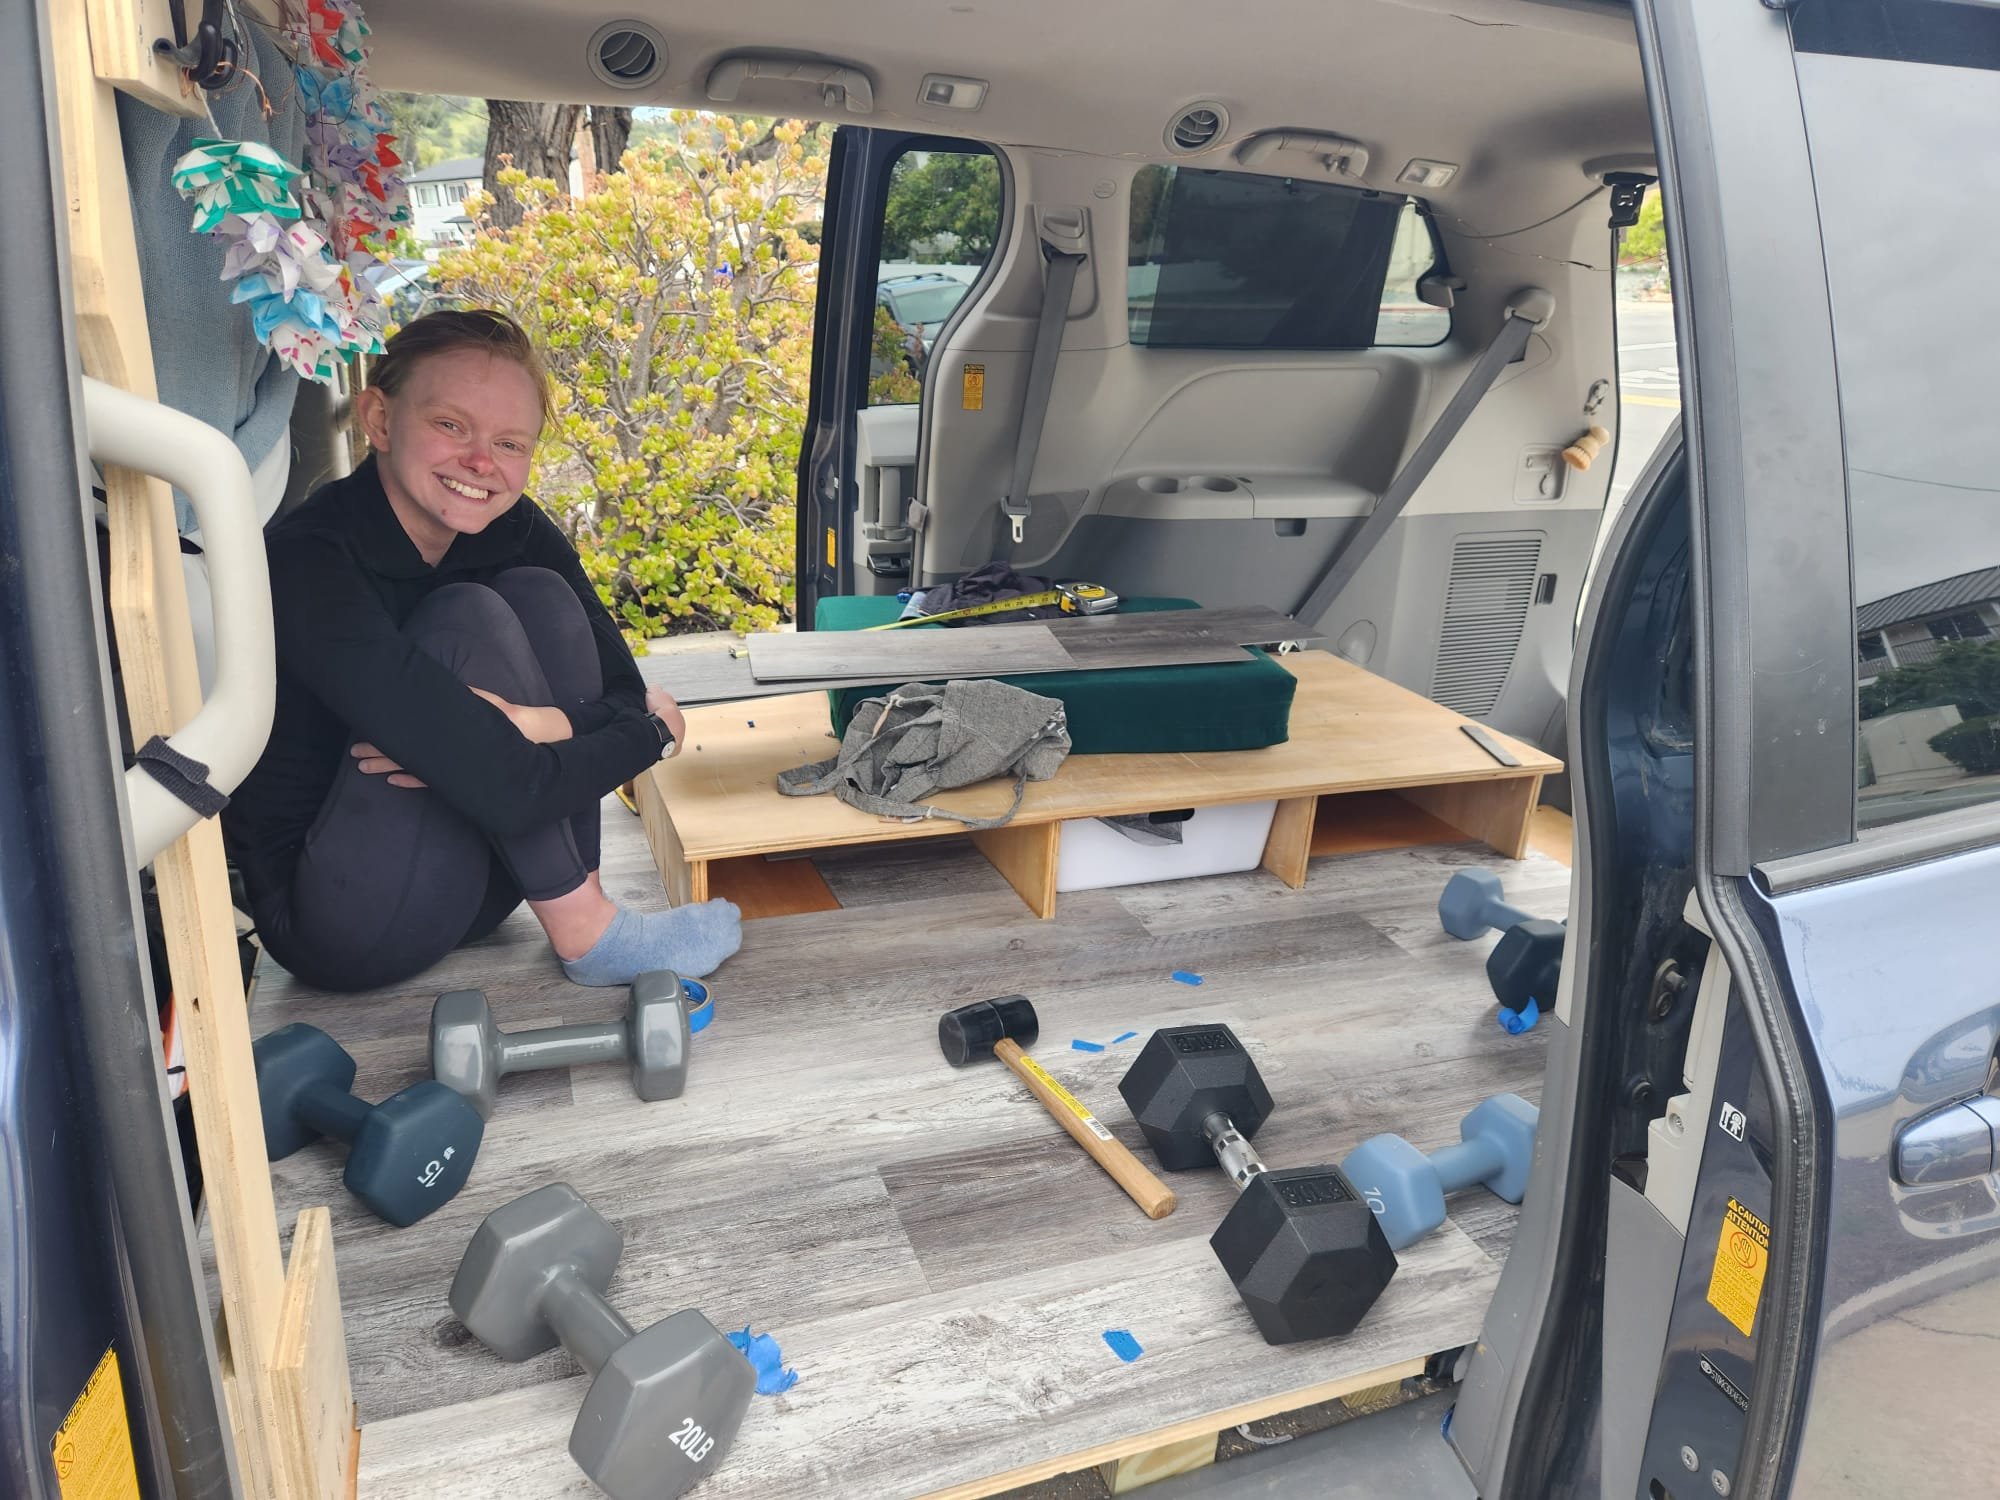
The smile of someone who knows the flooring is almost finished and that we’re getting takeaway straight after!
We managed it though and popped to Home Depot to grab some mahogany-style edging board which hid the rough cuts (vinyl flooring doesn’t snap cleanly whatever the directions tell you!) and that really brought the whole thing together - Big Buddy looks great. The functionality of the floor is also an unexpected bonus. It’s so so much easier to move things around (from the sofa to our laundry bag) and easier to keep clean. Helped no doubt by our final upgrade of a mount for our mini dustpan and brush so it’s always within reach.

You can just see the “mahogany” trim in the bottom right - I love it!
Since San Diego (at another pet sit!) we’ve made one more upgrade which is a solar panel mounted on our roof box. It’s great! At only 50 watts, it’s tiny but that means we can keep the van stealthy. 50 watts is enough to keep our fridge running while we’re out backpacking and gives us a bit of extra juice for charging electronics which means we’re now less reliant on coffee shops for charging our battery backs. It’s so nice to charge our battery while we’re driving too!

Still pretty stealthy..! Solar technology has come on a lot in the last year or so and these flexible panels are really functional and affordable
With all the building and the early dog wake-up calls we didn’t get as much time as we’d have liked to hang out with Amy’s friends in San Diego so we decided to stay put for another week, despite the city being notoriously difficult for van-lifing/overnight parking.